Field Guide
Wildlife Photography
From First Shot to Frame-Worthy Image
Africa's wildlife is endlessly photogenic — but the light is extreme, the action unpredictable, and the conditions demanding. Whether you're picking up a camera for the first time or travelling specifically to photograph wildlife, this guide covers the fundamentals of exposure, the realities of shooting in the bush, and the exact settings to dial in on every major camera system.
The Exposure Triangle
Every photograph is the product of three variables working in balance. Change one and the others must compensate. Understand what each controls and you can make intentional creative decisions rather than hoping the camera gets it right.
Controls depth of field and how much light enters the lens. Wide apertures (f/2.8–f/5.6) blur backgrounds and isolate a subject — ideal for animal portraits. Narrow apertures (f/8+) keep more of the scene sharp. For most safari wildlife, f/5.6 is the sweet spot: sharp subject, separated background.
Controls motion — fast shutter freezes it, slow shutter blurs it. Use 1/1000s or faster to freeze a running cheetah or a bird in flight. Walking wildlife needs 1/250–1/500s. Never let shutter drop below 1/focal length: a 500mm lens needs at least 1/500s to avoid camera shake.
Controls sensor sensitivity to light. Higher ISO lets you shoot in low light but introduces noise. Start at ISO 400 and raise freely — modern mirrorless cameras handle ISO 3200–12800 cleanly. A noisy image is always better than a blurred one. Pair with Auto ISO and a minimum shutter speed for a fully adaptive setup.
Essential Controls
Once you understand the three core variables, these additional controls give you full command of the image — especially in the difficult, high-contrast light conditions common on safari.
Autofocus & Drive
The right autofocus configuration separates a camera that fights you from one that works with you. These settings apply to any modern mirrorless or DSLR — the labels vary by brand but the logic is identical across all of them.
Safari Technique
Technical settings get you a sharp, well-exposed image. Technique gets you a great one. These habits and field practices consistently separate memorable wildlife images from the thousands of forgettable ones taken on the same game drive.
Composition
Technical settings produce a sharp, well-exposed image. Composition determines whether it's worth keeping. These principles apply equally on a first safari and a tenth — the difference between a record shot and a wall print is almost always compositional.
Divide your frame into a 3×3 grid and place your subject at one of the four intersections — not the centre. For moving animals, leave empty space in the direction of travel. A subject positioned off-axis creates more tension and depth than one sitting dead centre.
A distracting background ruins a technically excellent image. Before pressing the shutter, assess what is behind your subject. A small repositioning of a few metres can replace clutter with clean sky, open savannah, or soft bokeh. Your guide can help with vehicle placement.
The wrinkled skin of an elephant, the pattern of a zebra's flank, the texture of a lion's mane — close-up abstract images tell a story no wide frame can. Zoom fully in and let the animal's geometry fill the frame. These hold up beautifully as large prints.
Still water at a pan or river crossing can produce some of the most striking images on safari. Arrive early, shoot low, and let the reflection fill the lower half of the frame. Mirror symmetry is compelling — a slight offset adds realism and motion.
Use natural elements to frame your subject: acacia branches overhead, tall grass in the foreground, the gap between two boulders. This technique adds depth and places the animal firmly in its habitat. It works particularly well with a wider focal length at f/8 or smaller.
Tracks, riverbeds, fence lines, and ridgelines draw the eye toward a subject. Include them in the frame to convey scale and a sense of place. Combined with a wide lens and a subject in the distance, they capture what makes the African landscape unlike anywhere else.
Settings by Brand
The following applies to current mirrorless systems from each manufacturer. Menu paths vary between model generations — the feature names below will get you there.
- AF ModeAI Servo (DSLR) · AF-C (R-series)
- Subject DetectAnimal — AF menu → Subject to Detect
- AF AreaWhole Area AF or Zone AF
- Drive ModeHigh-speed continuous (10–40fps)
- MeteringEvaluative
- Auto ISOISO Auto — set min shutter in menu
- File FormatRAW or C-RAW (faster buffer clearance)
- StabilisationIBIS + IS lens (Coordinated IS)
- Pre-captureR6 II · R5 C · R5 II
- AF ModeAF-C (Continuous Autofocus)
- Subject DetectAnimals — i menu or Photo Shooting menu
- AF AreaAuto-area AF or 3D Tracking
- Drive ModeHigh-speed continuous (20fps Z9 · Z8)
- MeteringMatrix
- Auto ISOAuto ISO — min shutter via i menu
- File FormatRAW (NEF) or RAW + JPEG Fine
- StabilisationVR On (lens) + IBIS (Z-series body)
- Pre-capturePre-release capture (Z9 · Z8)
- AF ModeAF-C (Continuous)
- Subject DetectReal-Time Tracking + Animal Eye AF
- AF AreaWide · Zone (with Lock-on AF)
- Drive ModeHi / Hi+ (up to 120fps on A9 III)
- MeteringMulti
- Auto ISOISO Auto Min SS — assign to Custom Key
- File FormatCompressed RAW or Lossless Compressed
- StabilisationSteadyShot Active (A7 · A9 series)
- Pre-capturePre-Capture mode (A9 III)
- AF ModeAF-C
- Subject DetectAnimal — AF/MF Settings → Subject Detection
- AF AreaAll → Subject Tracking
- Drive ModeSport Finder / CH (up to 40fps X-H2S)
- MeteringMulti
- Auto ISOISO Auto — set min shutter in shooting menu
- File FormatRAW (Lossless Compressed)
- StabilisationIBIS (X-T5 · X-H2S)
- Pre-capturePre-Shot ES (X-H2S)
Advanced Techniques
Once the fundamentals are second nature, these techniques open up the creative range of what's possible in the African bush.
Set shutter speed to 1/30–1/125s. Track a running animal smoothly across the frame and press the shutter mid-sweep. The subject stays relatively sharp while the background streaks. Shoot in burst and expect a low keeper rate — that is normal. The results, when they land, are unlike anything else.
Position your subject between you and a low sun. The rim of light around fur, mane, or feathers creates a three-dimensional quality impossible in flat light. Expose for the subject using +1 to +2 stops compensation and let the sky blow out. Check your histogram.
1/2000s minimum shutter, continuous AF with bird tracking enabled, maximum burst rate. Pre-focus on a perched bird before takeoff — tracking systems acquire faster from an in-focus starting point. Keep the AF point on the bird's body, not the sky behind it.
A wide prime (24mm f/1.8 or wider) wide open, ISO 3200–6400, shutter at 20–25 seconds (the 500 rule: 500 ÷ focal length = max seconds before star trails appear). The Milky Way core is visible April–September across most of Africa. Red-light headtorch preserves your night vision.
African midday produces atmospheric haze that reduces contrast and colour. Shoot RAW and boost clarity and dehaze in post. Early morning and post-rain sessions are dramatically cleaner. A circular polariser on landscape lenses cuts haze and surface reflections on water.
A 100–500mm zoom (Canon RF, Nikon Z, Sony FE) covers nearly every safari situation from a vehicle. Pair with a 24–105mm for wide environmental shots and camp scenes. A 1.4× teleconverter extends reach with minimal quality loss on modern zooms. Prime superteles (500mm, 600mm) reward dedicated photographers who know exactly what they are after.
Related Guides
Destination Guide
Comparing Safari in East and Southern Africa
Choosing between East Africa and Southern Africa? We break down wildlife, landscapes, exclusivity, and price — and how to match your client to the right destination.
Planning Guide
When to Go
Month-by-month seasonality for 11 regions — from the Great Migration in East Africa to gorilla trekking, Victoria Falls, Zanzibar, and the Indian Ocean islands.
Destination Guide
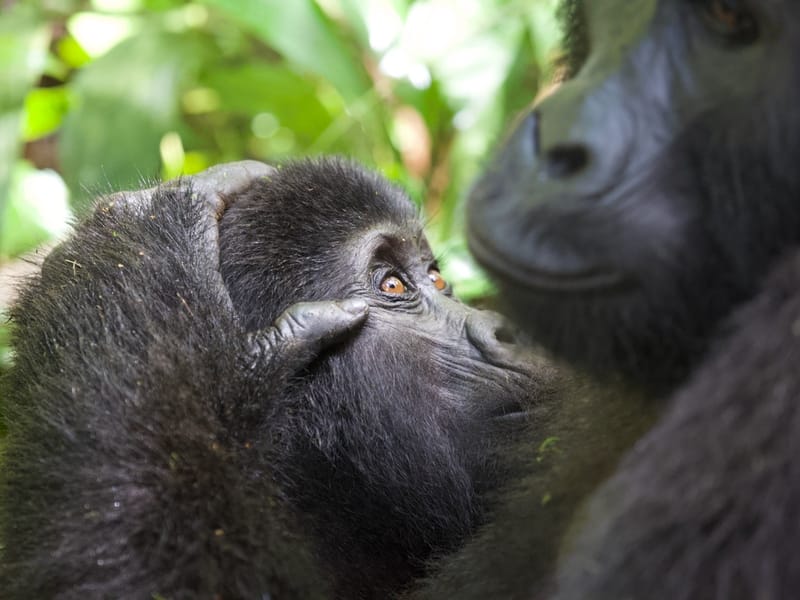
Gorilla Trekking: Rwanda, Uganda and DRC
Rwanda, Uganda, or DRC? A complete comparison of permits, trek difficulty, lodge quality, and which destination suits which traveller.
Build a Photography-Focused Itinerary
We can design trips specifically around light, season, and species — placing your clients in the right place at the right time of day, every day.
Partner With Us